When digitizing documents and photos, should you scan or take a photo? Both methods have their place, but choosing the right one affects quality, readability, and long-term usability. Let’s break down when to use each method.
When to Use a Scanner
Best for: Important documents, detailed photos, and archival purposes.
- Higher Resolution – Scanners provide sharper, more detailed images.
- Even Lighting – No shadows or glare, ensuring clear readability.
- OCR (Optical Character Recognition) – Can convert text documents into searchable files.
- Consistent Quality – Produces uniform, professional-looking scans.
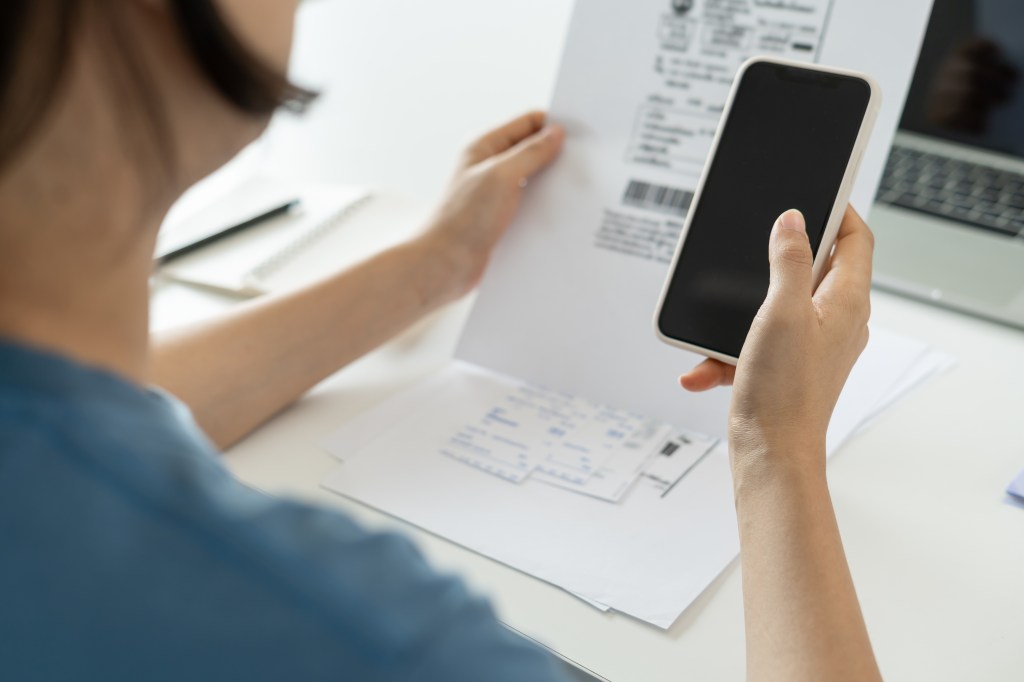
When to Use Your Phone Camera
Best for: Quick digitization, casual use, and when a scanner isn’t available.
- Faster & More Convenient – Capture documents instantly.
- Good for Informal Use – Useful for receipts, notes, and casual photos.
- Best with Proper Lighting – Avoid shadows and glare by using natural light.
Best Practices for Both Methods
- For scanning: Use 300-600 DPI for photos, 150-300 DPI for documents.
- For photographing: Place items on a flat, well-lit surface and hold the camera steady.
- For OCR: Use scanning apps like Adobe Scan or Microsoft Lens to extract text.
Final Thought
If quality and longevity matter, scanning is the better choice. If you need speed and convenience, your phone camera works well for quick tasks. Choose the right tool based on your needs!
This post is part of the Digital Organization Series, where I walk you through everything you need to know about scanning, organizing, and managing your digital files. Whether you’re just starting or looking to refine your system, you can explore the full series here: DIY Series.
